
The Kiss Acrylic Nail Kit is a comprehensive at-home solution for professional-quality acrylic nails. Designed for both beginners and experienced users, it offers essential tools and materials for long-lasting, salon-grade results.
Overview of the Kit and Its Components
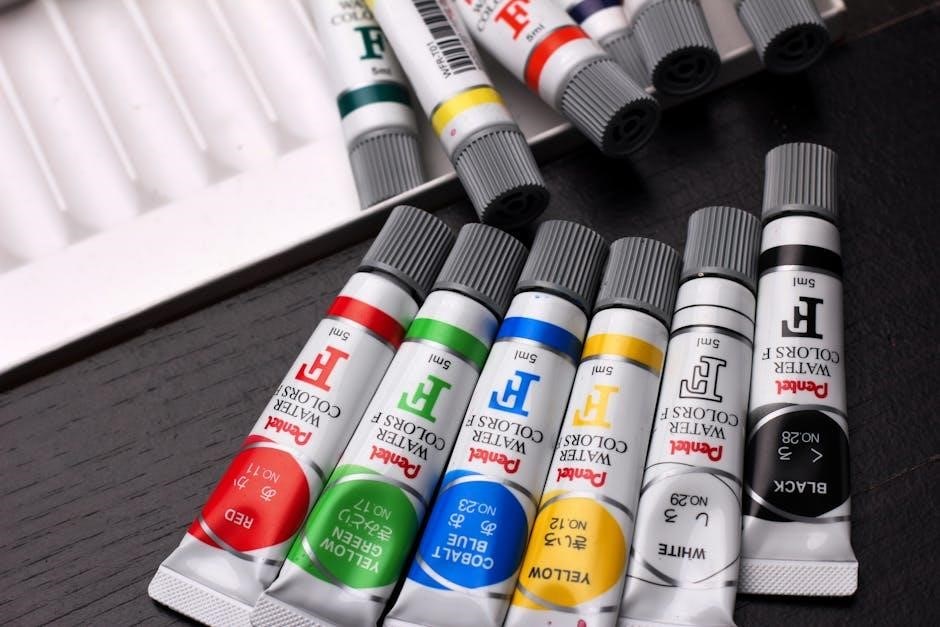
The Kiss Acrylic Nail Kit is a complete, all-in-one solution for creating professional-quality acrylic nails at home. It includes acrylic powder, liquid monomer, nail glue, a brush, nail tips, and a nail file for shaping. The kit also comes with step-by-step instructions to guide users through the application process. Designed for ease of use, it caters to both beginners and experienced users, providing everything needed for a salon-quality finish. The components are carefully selected to ensure durability and a natural look, making it a popular choice for DIY nail enhancements. Whether you’re aiming for a subtle or bold style, the Kiss Acrylic Nail Kit offers the tools and materials to achieve your desired aesthetic effortlessly.
Preparation Steps for Using the Kiss Acrylic Nail Kit
Essential steps include cleaning your natural nails with acetone, gently buffing the surface, and applying the Kiss Acrylic Primer for a smooth base.
Cleaning and Buffing Your Natural Nails
Cleaning and buffing your natural nails are crucial steps before applying acrylics. Start by wiping your nails with acetone-based nail polish remover to remove oils and residue. Use a fine-grit nail file to gently buff the surface of your natural nails, focusing on the area where the acrylic will adhere. This creates a textured surface for better adhesion. Lightly buff the edge of your natural nail to blend it with the acrylic. Avoid over-buffing, as this can weaken your natural nail. Finish by wiping away any dust with a lint-free wipe. Proper preparation ensures a strong, long-lasting bond between your natural nail and the acrylic enhancement.
Applying the Kiss Acrylic Primer
After cleaning and buffing your nails, apply the Kiss Acrylic Primer to the growth area of your natural nail only. Use a thin, even layer, ensuring it doesn’t touch your cuticles or skin. Allow the primer to dry completely, as this step is essential for creating a strong bond between your natural nail and the acrylic. The primer helps the acrylic adhere properly, reducing the risk of lifting. Make sure to follow the instructions carefully to avoid over-application, as this can lead to a messy finish. Once dry, your nails are ready for the next step in the application process. Proper priming is key to achieving a professional-looking result with the Kiss Acrylic Nail Kit.
Application Process of the Kiss Acrylic Nail Kit
The application process involves applying nail glue, aligning acrylic nails, mixing acrylic powder and liquid monomer, and shaping the nails to achieve the desired style and finish.
Applying Nail Glue and Aligning Acrylic Nails
Start by applying a small amount of nail glue to the back of each acrylic nail. A little goes a long way, so avoid over-application to prevent mess. Carefully align the acrylic nail with your natural nail, ensuring proper positioning for a seamless look. Gently press down on the acrylic nail for about 10 seconds to secure it in place. This step is crucial for ensuring strong adhesion and preventing lifting. Once the glue sets, the acrylic nail should feel firmly attached. Proper alignment and application of the glue are key to achieving a professional finish and ensuring the longevity of your acrylic nails.
Mixing the Acrylic Powder and Liquid Monomer
To create the acrylic mixture, combine a small amount of acrylic powder with a few drops of liquid monomer in a clean dish. Use the provided brush to mix until a smooth, paste-like consistency is achieved. Be careful not to add too much liquid, as this can make the mixture too runny. The ideal consistency allows for easy application without dripping. Once mixed, use the brush to carefully apply the acrylic mixture to your nails, starting at the center and blending towards the tips. This step requires precision to ensure an even coat and a natural-looking finish. Proper mixing is essential for achieving durable and attractive acrylic nails.
Applying the Acrylic Mixture to Your Nails
Using the brush provided, place a small bead of the acrylic mixture onto the center of your natural nail. Gently press down and spread the mixture evenly, starting at the center and blending it toward the tips. Ensure the mixture covers the entire nail surface but avoid getting it on the cuticles or skin. Use light pressure to shape the acrylic as desired, smoothing out any ridges or bumps. For a natural look, feather the edges where the acrylic meets the cuticle area. Allow the mixture to set slightly before refining the shape further with the brush tip.
Work one nail at a time to maintain control and achieve a smooth, professional finish. This step is crucial for creating a durable and visually appealing acrylic nail application.
Shaping and Finishing Your Nails
Use a nail file to shape your acrylic nails to your desired style. Buff the surface for a smooth, glossy finish. Apply a top coat to seal and protect.
Filing and Shaping the Acrylic Nails
Filing and shaping are crucial steps to achieve the desired look. Use the coarse side of the nail file to gently shape the acrylic nails, removing excess material. Start at the cuticle and work towards the tip, maintaining the natural curve. Switch to the fine side to smooth out ridges and refine the edges. Be careful not to file too aggressively, as this can weaken the nail. Once shaped, use a buffer to create a high-gloss finish, enhancing the appearance of your nails. Proper filing ensures durability and a polished look, making your acrylic nails both stylish and long-lasting.
Sealing and Adding a Finishing Touch
Sealing and finishing are the final steps to complete your acrylic nail application. Apply a thin layer of top coat to each nail, ensuring even coverage. Use a UV or LED lamp to cure the top coat for a durable, glossy finish. Gently wipe away any excess product around the cuticles with a lint-free wipe soaked in nail cleanser. This step ensures a clean, professional look. For added longevity, consider applying a nail sealant to protect the acrylic from chipping. Regular touch-ups and proper care will keep your nails looking salon-fresh for weeks. This final step completes your at-home acrylic nail transformation, leaving you with beautiful, long-lasting results.
Troubleshooting Common Issues
Common issues include lifting, uneven application, or weak adhesion. Ensure proper primer use, avoid thick layers, and check for air bubbles to maintain durability and appearance.
Preventing Lifting and Ensuring Longevity
Lifting occurs when the acrylic nail separates from the natural nail, often due to improper application or natural nail growth. To prevent this, ensure the natural nail is clean and dry before applying primer. Avoid thick layers of acrylic, as this can weaken adhesion. Gently buff the natural nail surface to create a rough texture for better bonding. Use a small bead of acrylic mixture, placing it at the center and spreading it evenly. Avoid getting primer or acrylic on the cuticles or skin. After curing, apply a thin topcoat to seal the edges. Regularly check for lifting and reapply acrylic as needed. Proper aftercare, such as avoiding harsh chemicals, can extend the life of your acrylic nails.
Removing Kiss Acrylic Nails Safely
To safely remove Kiss Acrylic Nails, soak your fingers in acetone for 10-15 minutes. Gently scrape off the acrylic with a nail tool, avoiding natural nail damage. Moisturize afterward to replenish nail health.
Step-by-Step Removal Process
Step 1: Prepare by gathering acetone, a nail file, and a cuticle pusher. Step 2: File the top layer of acrylic to break the seal. Step 3: Soak cotton pads in acetone and wrap each nail. Step 4: Let sit for 10-15 minutes until acrylic softens. Step 5: Gently scrape off acrylic with a cuticle pusher. Step 6: Moisturize nails and cuticles post-removal to replenish hydration. Avoid harsh chemicals to maintain nail health and integrity. This method ensures safe and effective removal of Kiss Acrylic Nails at home.
Mastering the Kiss Acrylic Nail Kit opens the door to stunning, long-lasting nail enhancements from the comfort of your home. By following the step-by-step guide and practicing proper techniques, you can achieve professional-quality results. To maintain healthy nails, avoid using harsh chemicals and keep your nails moisturized after removal. For the best experience, always follow the instructions carefully and ensure proper preparation and aftercare. Experiment with different styles and finishes to enhance your look. Remember, consistency and patience are key to perfecting your acrylic nail application. Happy styling!
Be First to Comment